In this article, you’ll learn how to create a group in Groupmail.
A critical first step to getting started with Groupmail is creating your first group. In this article, you’ll learn how to create and organize your group.
Before You Start
Here are some things to know before you begin this process:
- Groups are used to segment and group your contacts
- You can add and import your contacts to a specific group
Create a group
When you start Groupmail for the first time, we prompt you to generate your first group. In the Group settings you will input information such as your Group name, From Email Name, reply to email address and some other details.
To create a new group in Groupmail, follow these simple steps:
1 . Click the + icon in the left menu Create group.

2. Enter Group Details
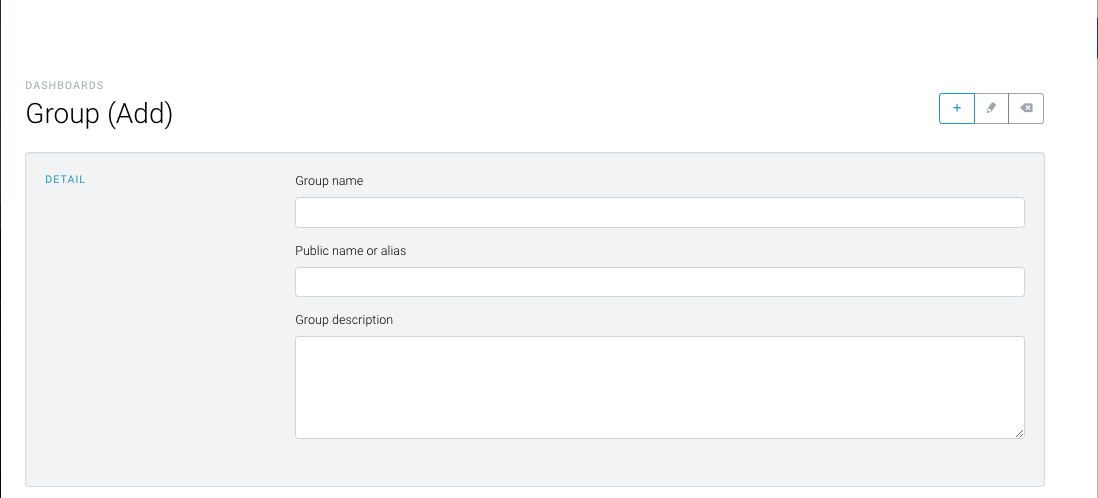
Field Details
Group name:
This is the name of your group and is private to you.
Public name or alias:
This is the public name of your group. This is used in the unsubscribe and subscribe forms.
Group Description:
Enter a description of your group to help you recognise the group origin.
Web Services:
This is set to “On” as default. Web Services is used to track your messages, sync data and manage your subscribes/unsubscribes.
Warning: Turning this to “Off” will turn all these services off. We do not recommend this.
Groupmail SMTP configurations:
This is the SMTP configuration that is used for this group. This is set to Groupmail as default, where the email is sent through our servers. You can add your SMTP configuration here if you wish.
From email:
This is the From email address that your contacts will see when you send them an email campaign.
From Name:
This is an important field. This is the From Name that your contacts will see when you send them an email campaign. Ensure this is a name your contacts will recognise.
Reply-To:
Again this is an important field. Any replies to your email campaign will be sent to this email address.
3. Click Save.
That’s it, you just created your new Groupmail group. You are now ready to start creating some emails and adding your contacts.
What’s Next?
Import your contacts
Import your contacts to a Groupmail group.
Create your first campaign
Create your first email newsletter campaign with Groupmail.
Need help?
If you have any questions or need any help to get started, please reach out to us at hello@groupmail.io.